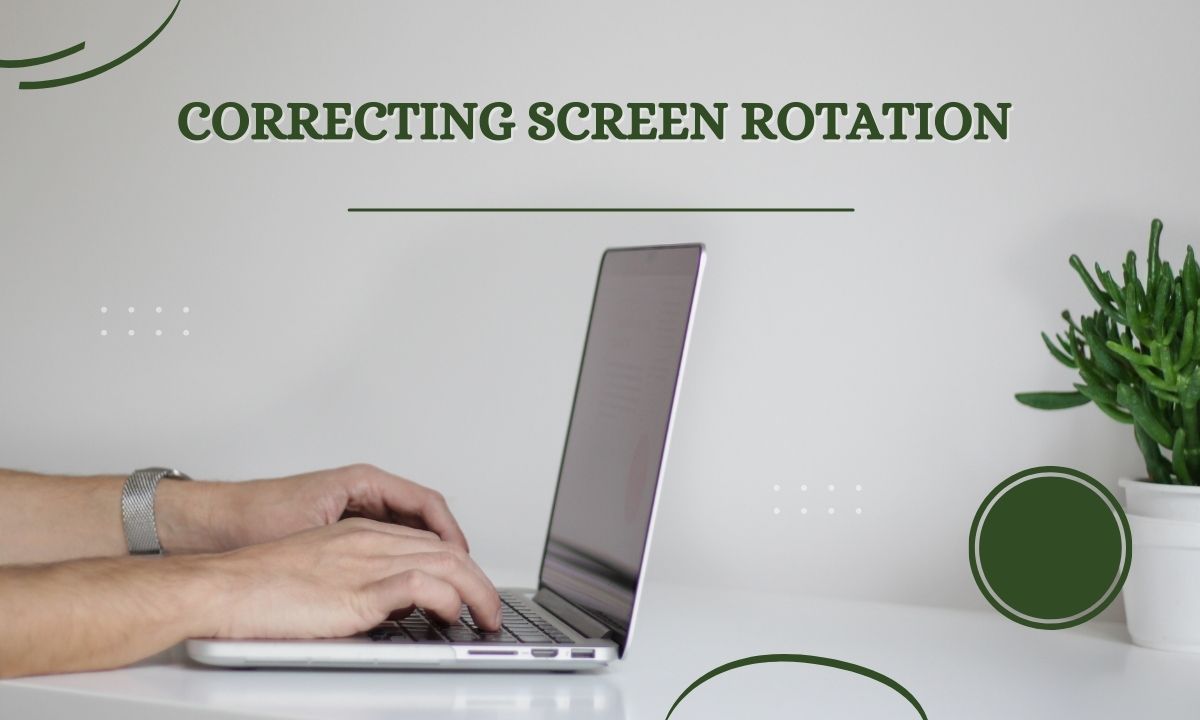
How to Change Screen Orientation on Dell Laptop?
Whether you are presenting a project or prefer a different viewing experience for personal use, knowing how to change the screen orientation on your Dell laptop is a useful skill….
Whether you are presenting a project or prefer a different viewing experience for personal use, knowing how to change the screen orientation on your Dell laptop is a useful skill. This article will guide you through this straightforward process.
Screen Orientation
Before we begin, it’s important to understand what screen orientation is. The screen orientation refers to the way your display is presented. It is either in portrait mode (where the height is greater than the width) or landscape mode (where the width is greater than the height). Your Dell laptop usually defaults to landscape mode, as it’s more suitable for most tasks like browsing the web or using applications.
However, there may be times when changing the screen orientation would be beneficial. For example, viewing a long document or coding might be easier in portrait mode as it allows you to see more lines of text at once.
Changing Screen Orientation on a Dell Laptop
Let’s now dive into the steps required to change your Dell laptop’s screen orientation. This guide is compatible with most Windows-based Dell laptops, including those running on Windows 10 and Windows 11.
Step 1: Navigate to the Desktop
Close any open applications so you can see the desktop background. This is important to prevent any potential mishaps during the process.
Step 2: Access the Display Settings
Right-click on an empty area on the desktop. A context menu will appear. Look for and click on “Display settings”. This will open the settings application directly on the display settings page.
Step 3: Adjust the Orientation
Scroll down to the “Orientation” section in the Display settings. Click on the dropdown menu. You will see four options: Landscape, Portrait, Landscape (flipped), and Portrait (flipped).
“Landscape” is likely the current setting. “Portrait” will rotate your screen 90 degrees, while the “flipped” options will rotate your screen 180 degrees.
Choose the orientation you want by clicking on it.
Step 4: Apply the Changes
Click on the “Apply” button to implement the change. A pop-up will appear, asking you to confirm the change. The screen will go black for a moment while the changes are being applied. Once your screen reappears, it will be in the orientation you selected.
Step 5: Confirm the Changes
A pop-up will ask if you want to keep the changes. If you’re satisfied with the new orientation, click on “Keep changes”. If you aren’t, or if the screen is unreadable, don’t click anything. The system will automatically revert to the previous orientation after 15 seconds.
Also Read:- What Is a Good Processor Speed for a Laptop?
Tips for a Successful Screen Orientation Change
Keep these tips in mind to ensure a smooth transition:
- Close all applications: Changing screen orientation can disrupt open applications. Avoid potential issues by closing all programs before proceeding.
- Set screen resolution: If you’re switching to portrait mode, consider adjusting your screen resolution to make the most of the new layout. A resolution with a larger height value can be beneficial.
- Have a mouse handy: If you’re using the laptop’s touchpad, navigating with a different screen orientation might feel awkward. A mouse can make this easier.
- Update your graphics driver: If you can’t change the screen orientation, you might need to update your graphics driver. Visit Dell’s support website, enter your laptop model, and download the latest graphics driver.
How to Change Orientation Using Keyboard Shortcuts
If you frequently switch between orientations, you might find it faster to use keyboard shortcuts. Here are the combinations you need:
- Ctrl + Alt + Right Arrow: Changes the screen orientation to portrait.
- Ctrl + Alt + Left Arrow: Changes the screen orientation to portrait (flipped).
- Ctrl + Alt + Up Arrow: Changes the screen orientation to landscape.
- Ctrl + Alt + Down Arrow: Changes the screen orientation to landscape (flipped).
Note: These shortcuts may not work if they’re not supported by your graphics driver.
Also Read:- How Much RAM is Good for a Gaming Laptop?
Final Words
Being able to adjust the screen orientation on your Dell laptop can enhance your user experience, especially when working with specific types of documents or presentations. This simple guide should help you make the transition with ease.
Remember to adjust your settings slowly and carefully to avoid any disruptions to your work, and always ensure your graphics driver is up to date for the best performance.